
 |
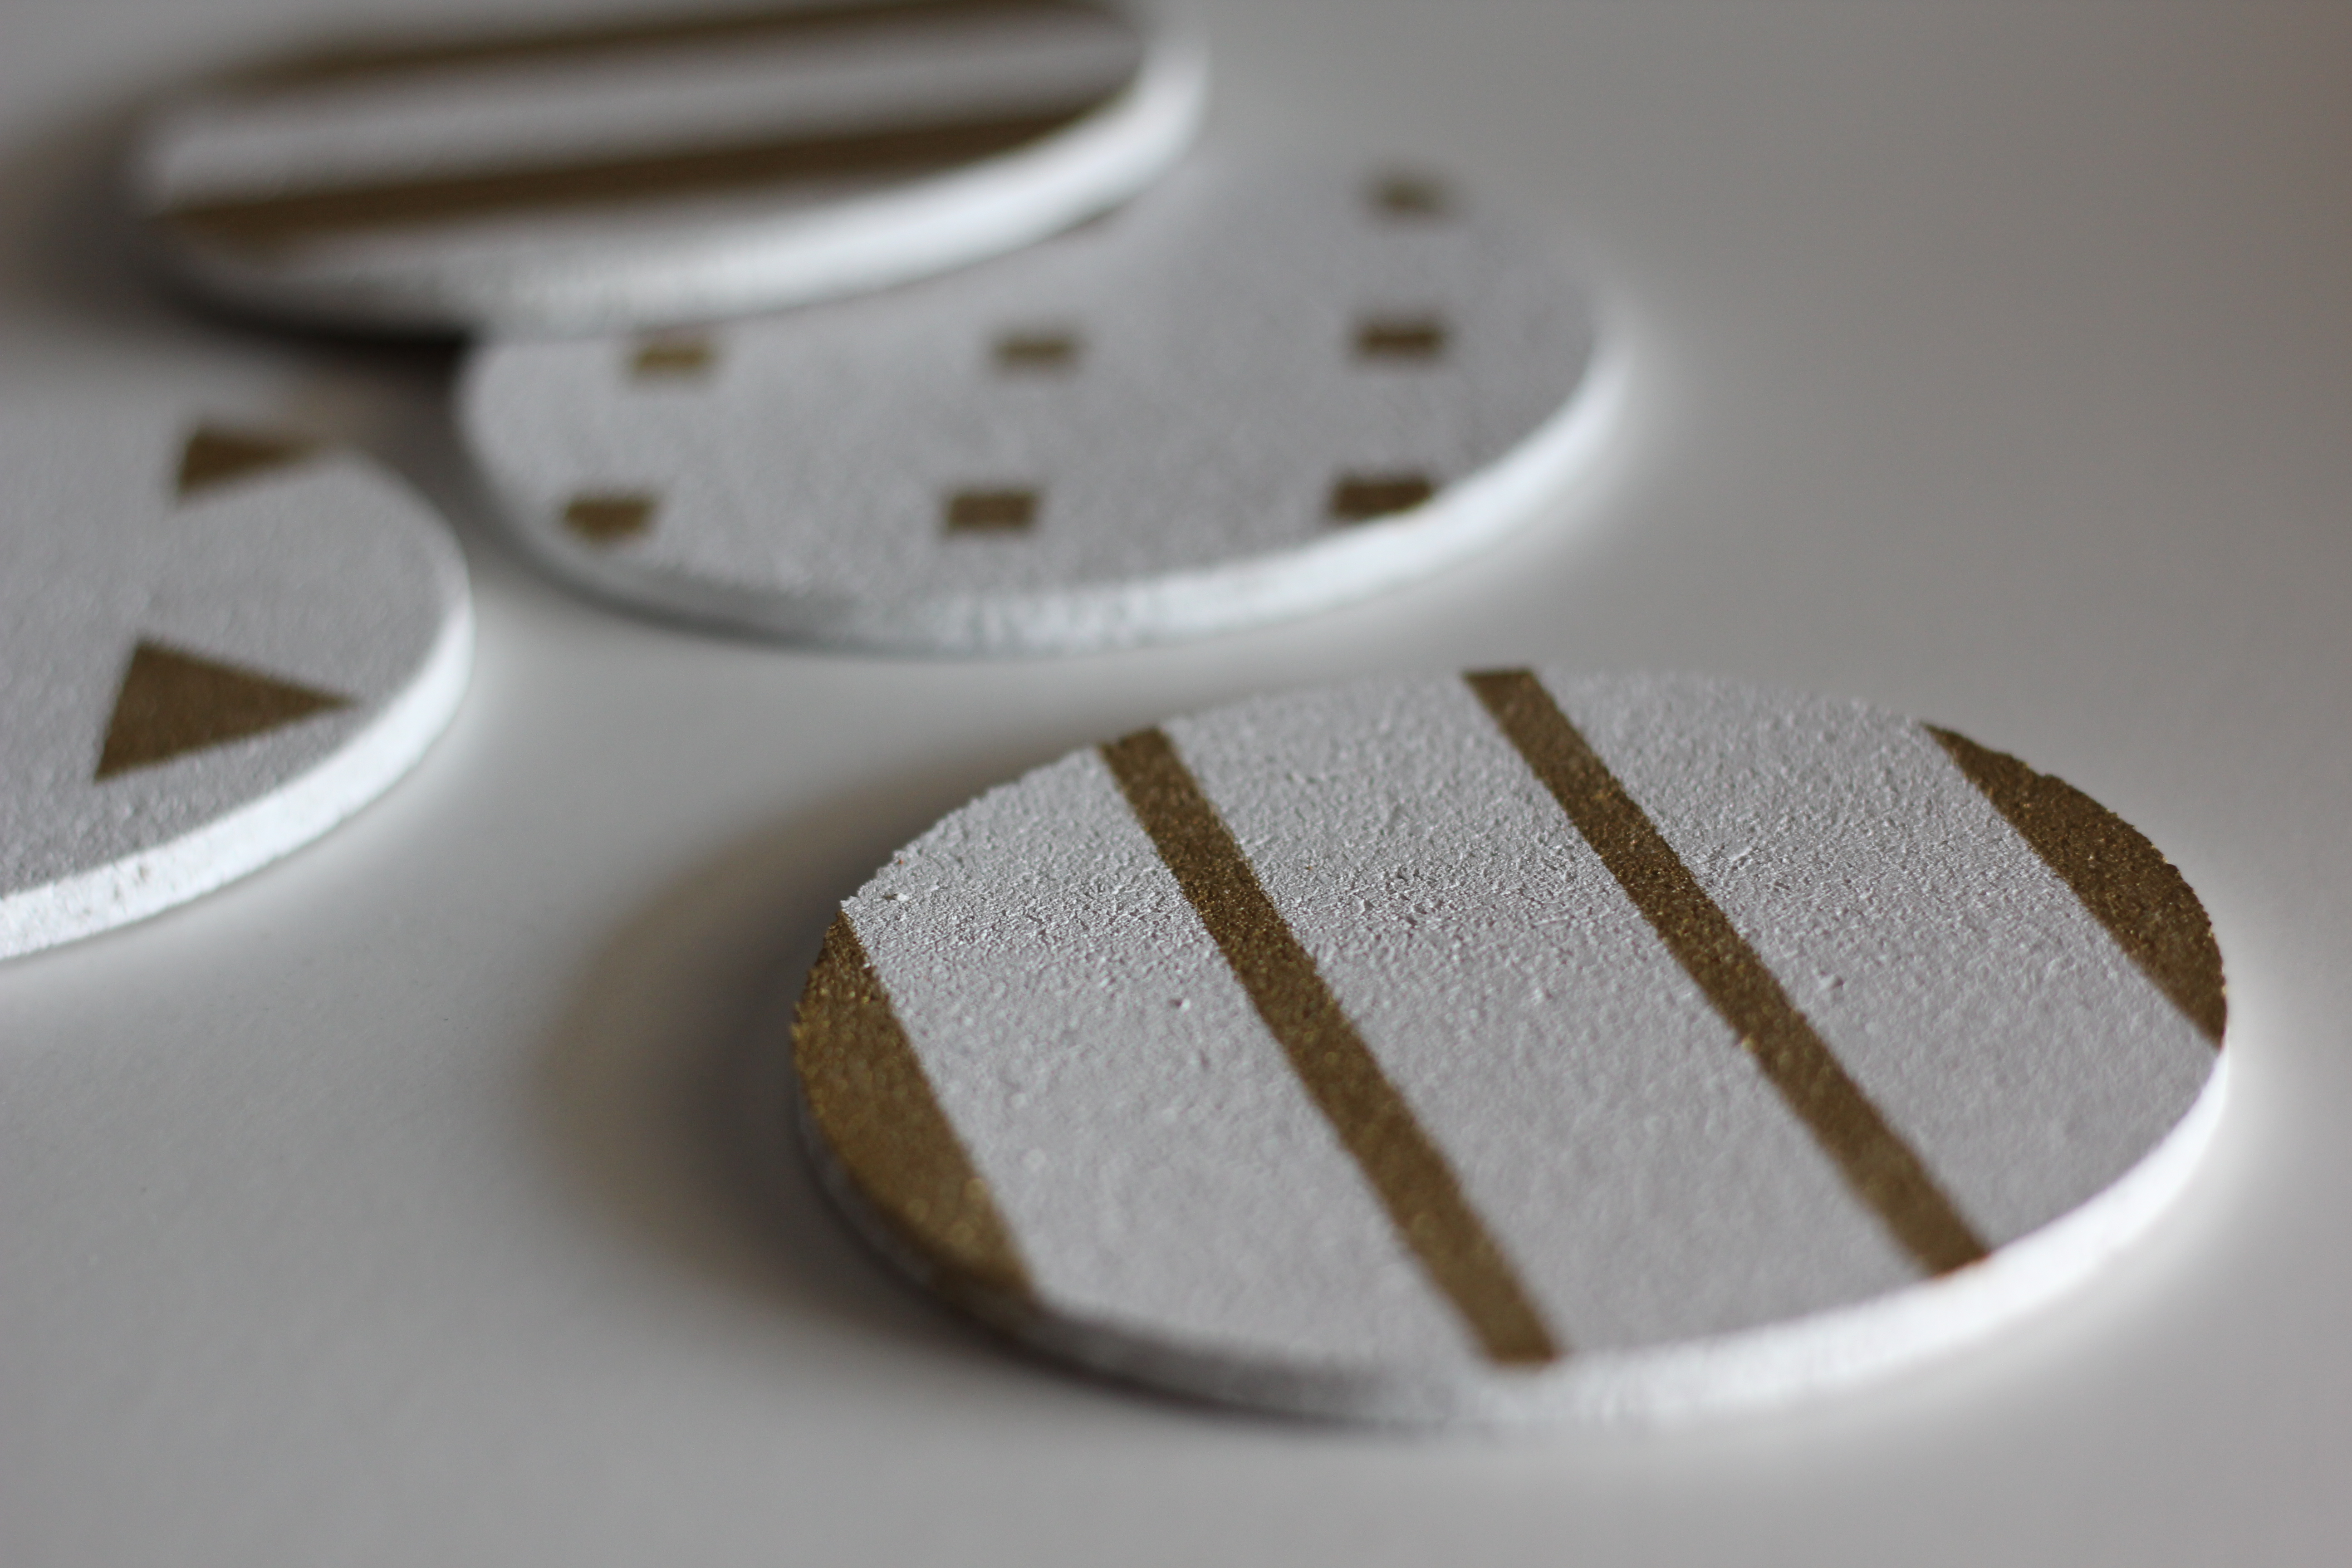
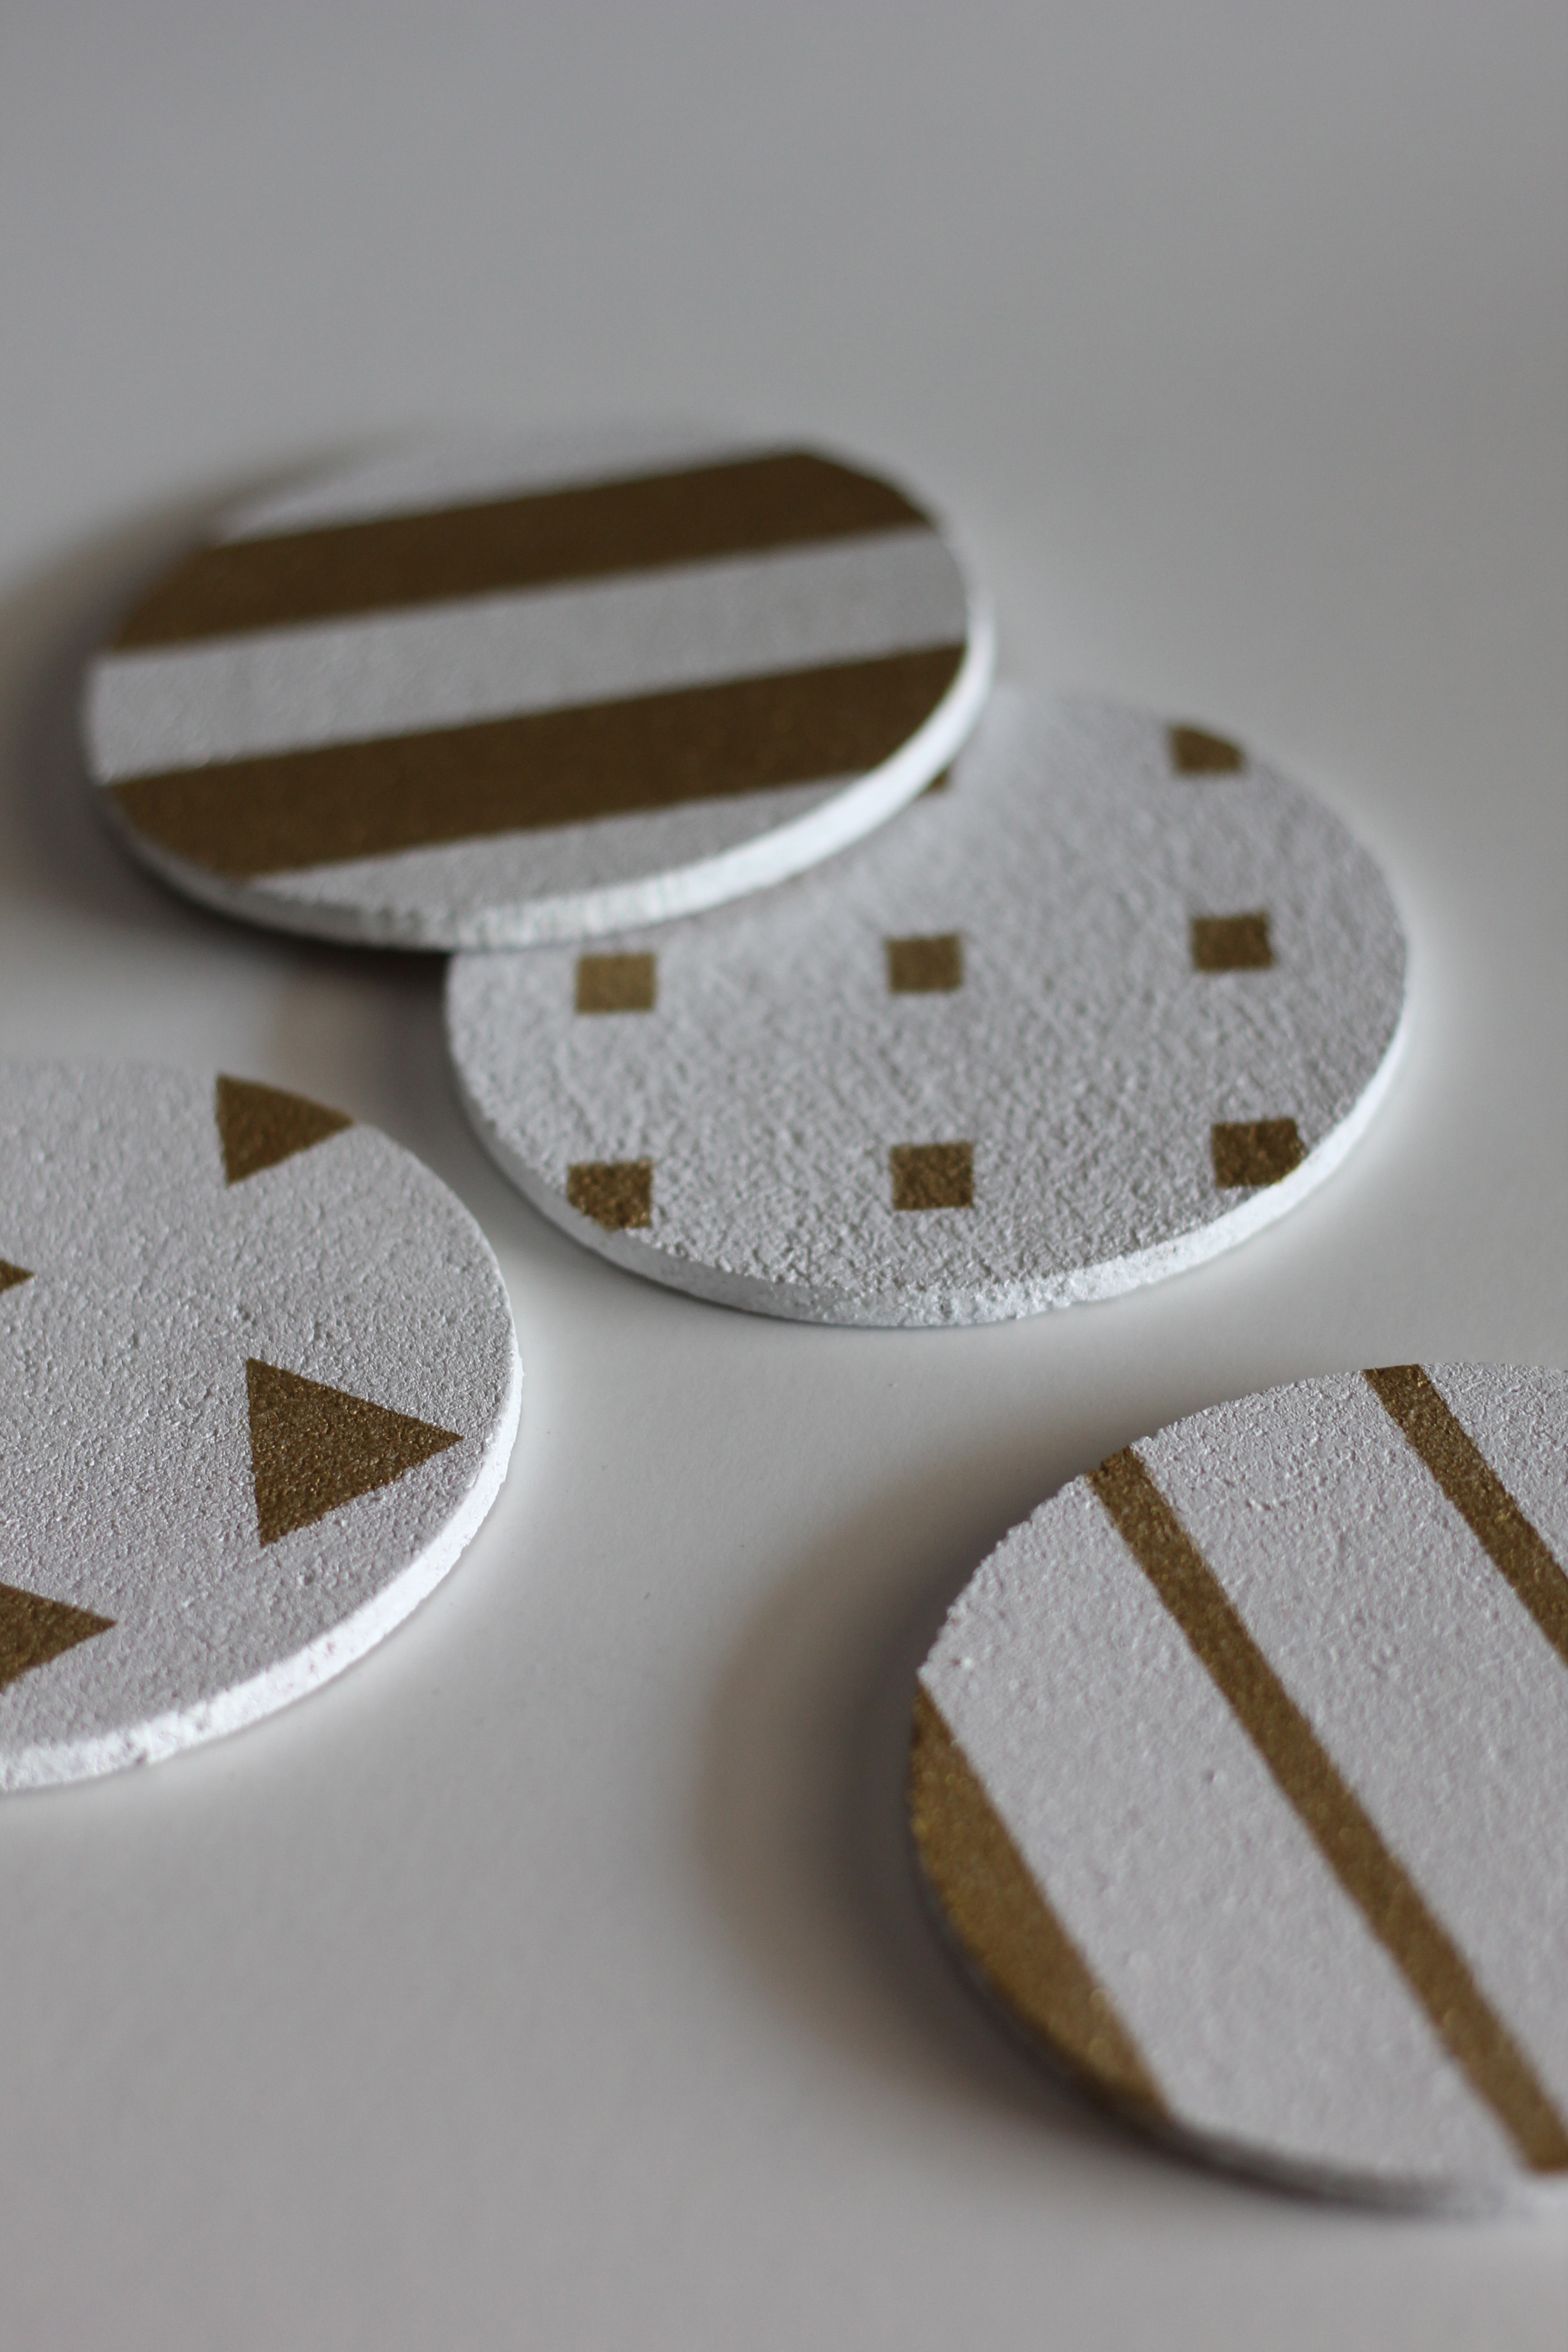
For me, when it comes to craft/DIY projects, it's a case of the simpler the better. I don't do them as often as I'd like, but when I do I'm always impatient to get to the end result so I end up taking shortcuts on anything even slightly challenging - and it shows in the finished product. That's why these little painted cork coasters are my kind of DIY - easy, fast and cheap as chips! I'm sure they'd have turned out better if I'd slowed down and put in a bit more thought, but with some leftover white paint and a few items from the two-dollar store, they look perfectly fine and I now have something cute to rest my cuppa on. It barely needs explaining but here's what you do:
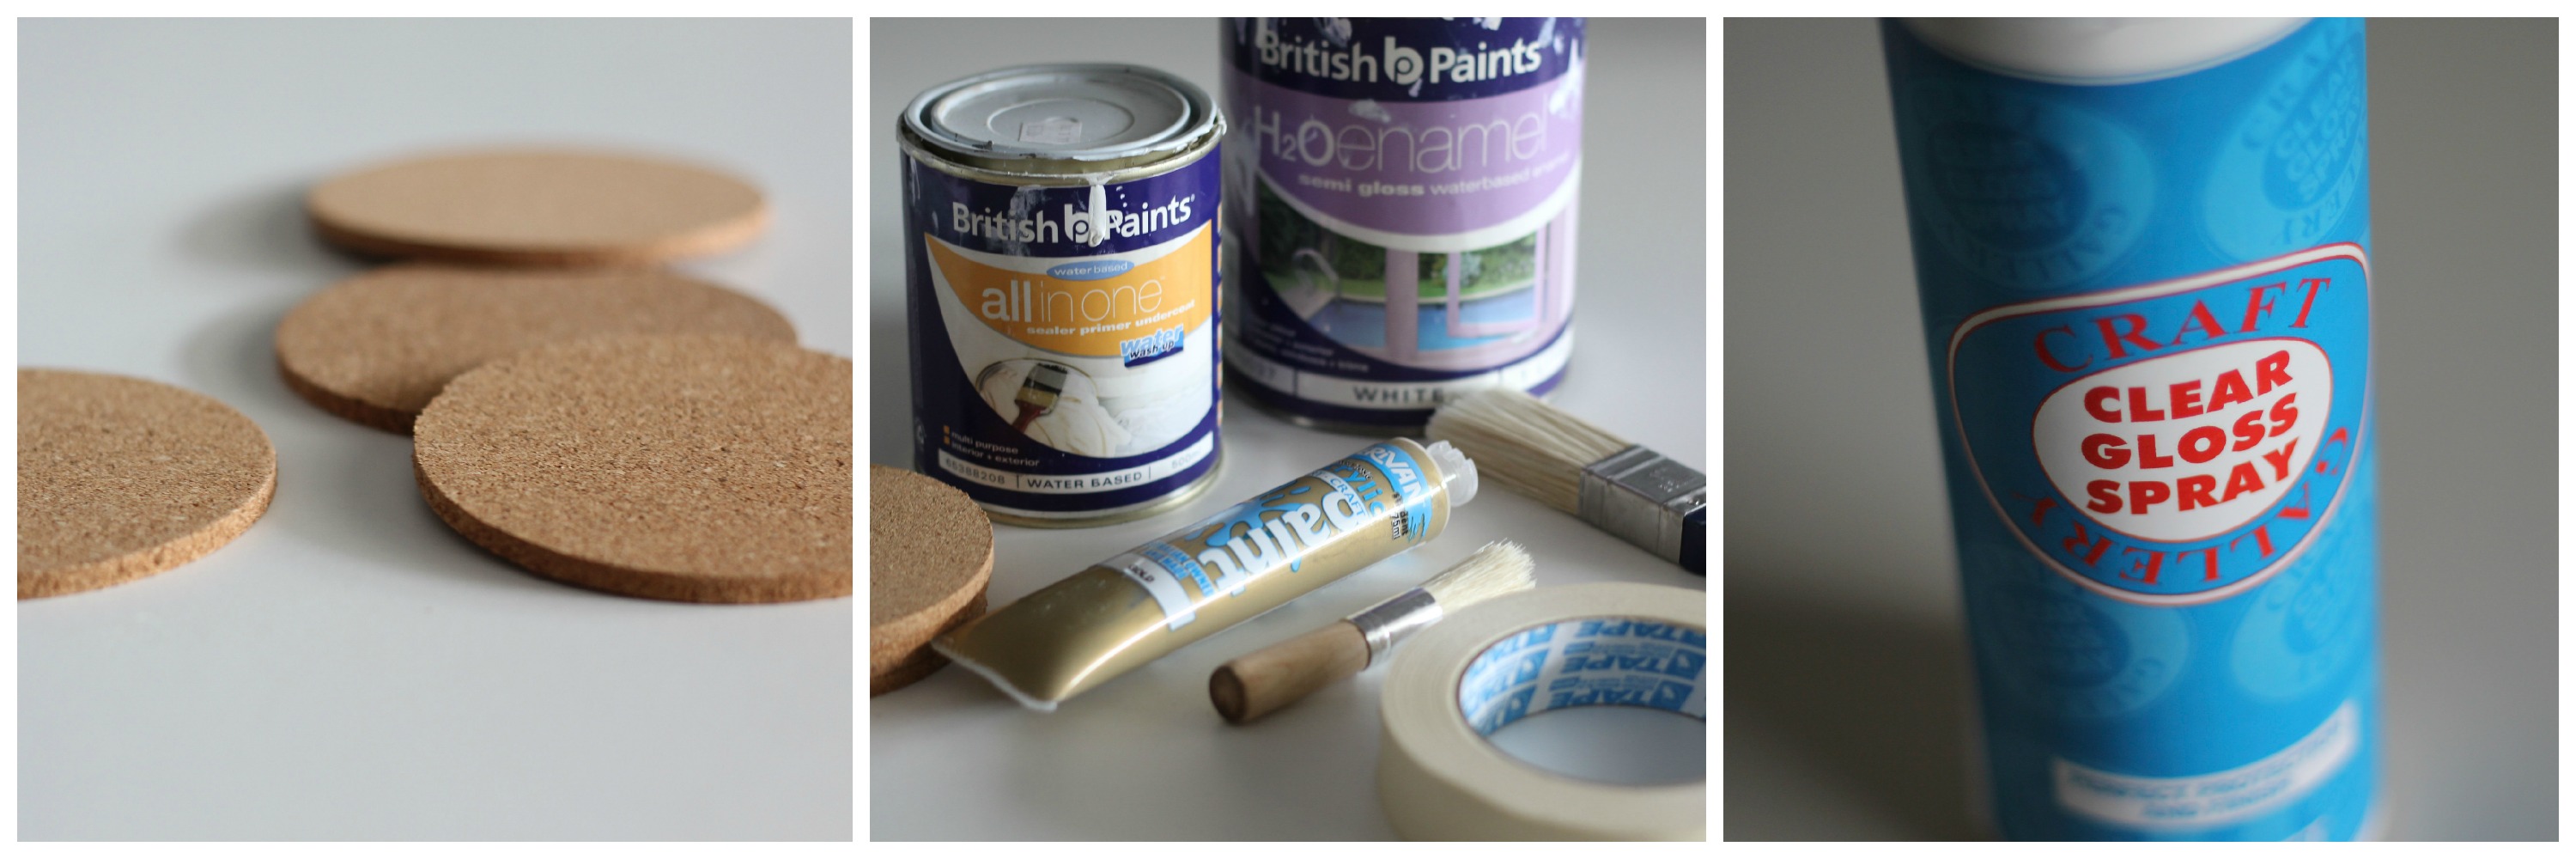 |
1. Get yourself some cheapo cork coasters, a small tube or tub of acrylic paint in a colour of your choice, leftover wall paint (I used primer too but I'm sure this isn't essential), a paintbrush, a stencil brush, masking tape and some clear gloss spray (also from the $2 store).
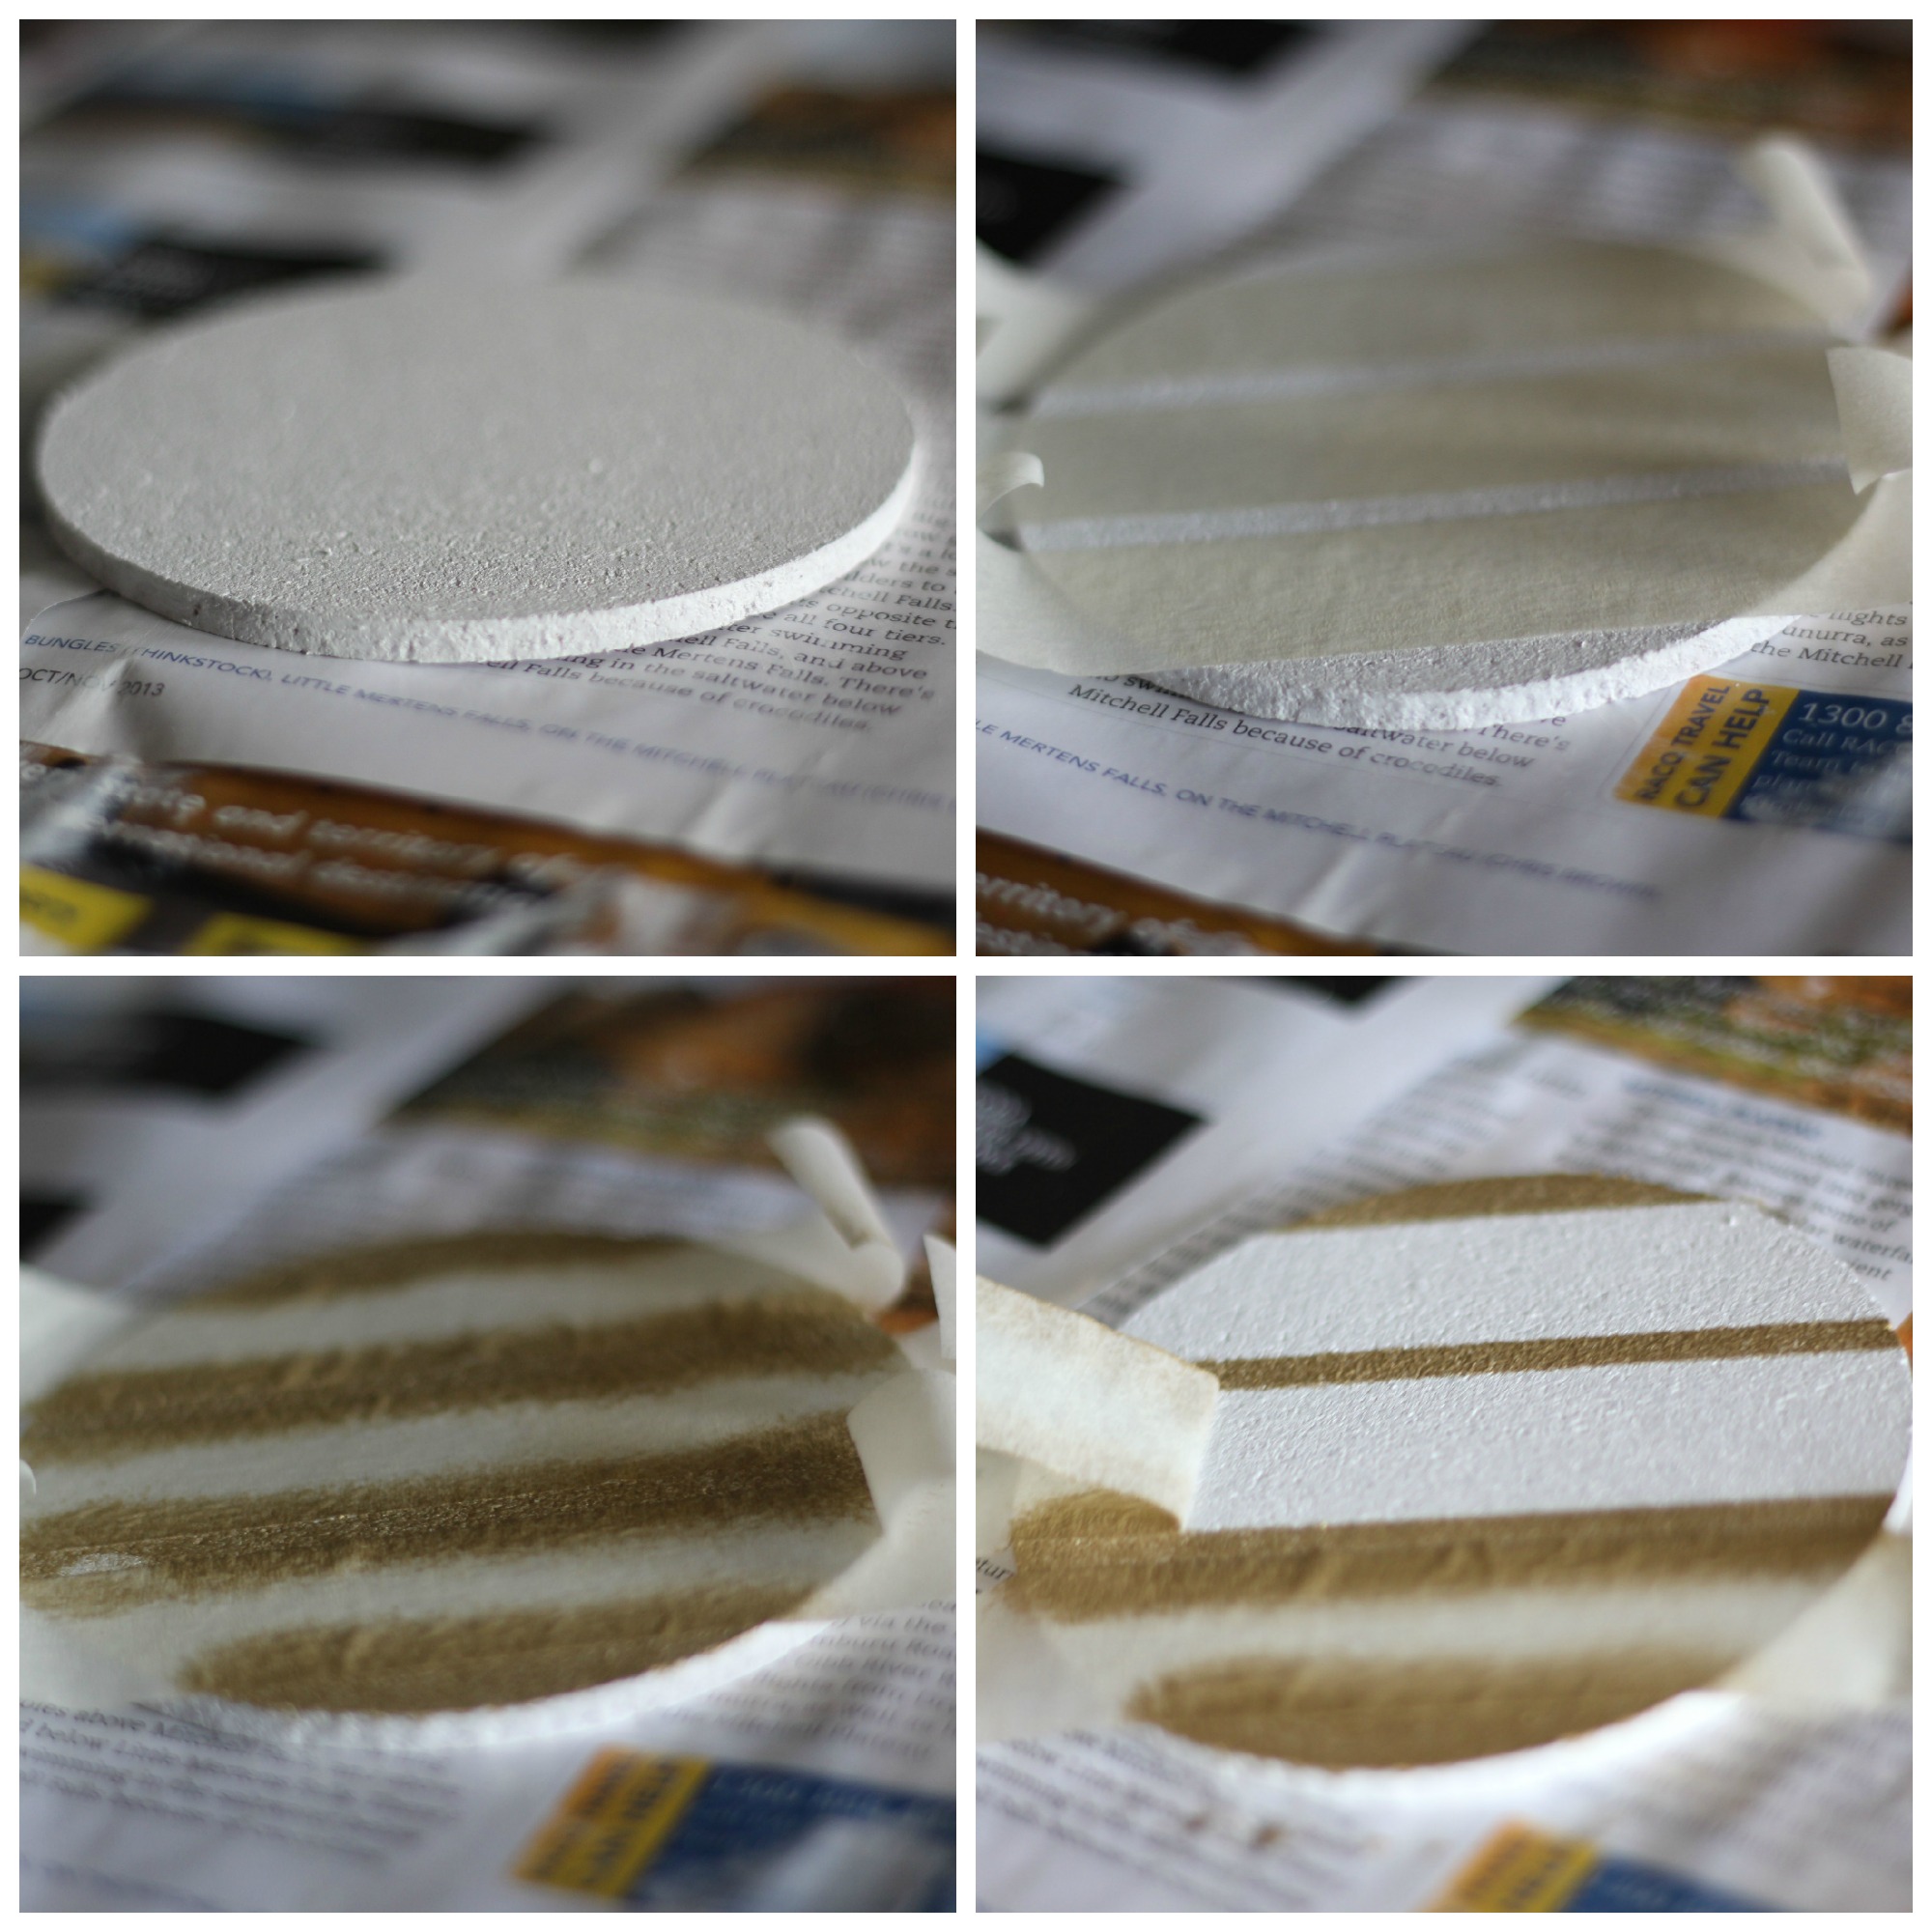 |
2. Paint on a layer of primer (if using), leave to dry for half an hour to an hour, then paint on a coat of white paint, leave to dry and repeat until you have enough coverage.
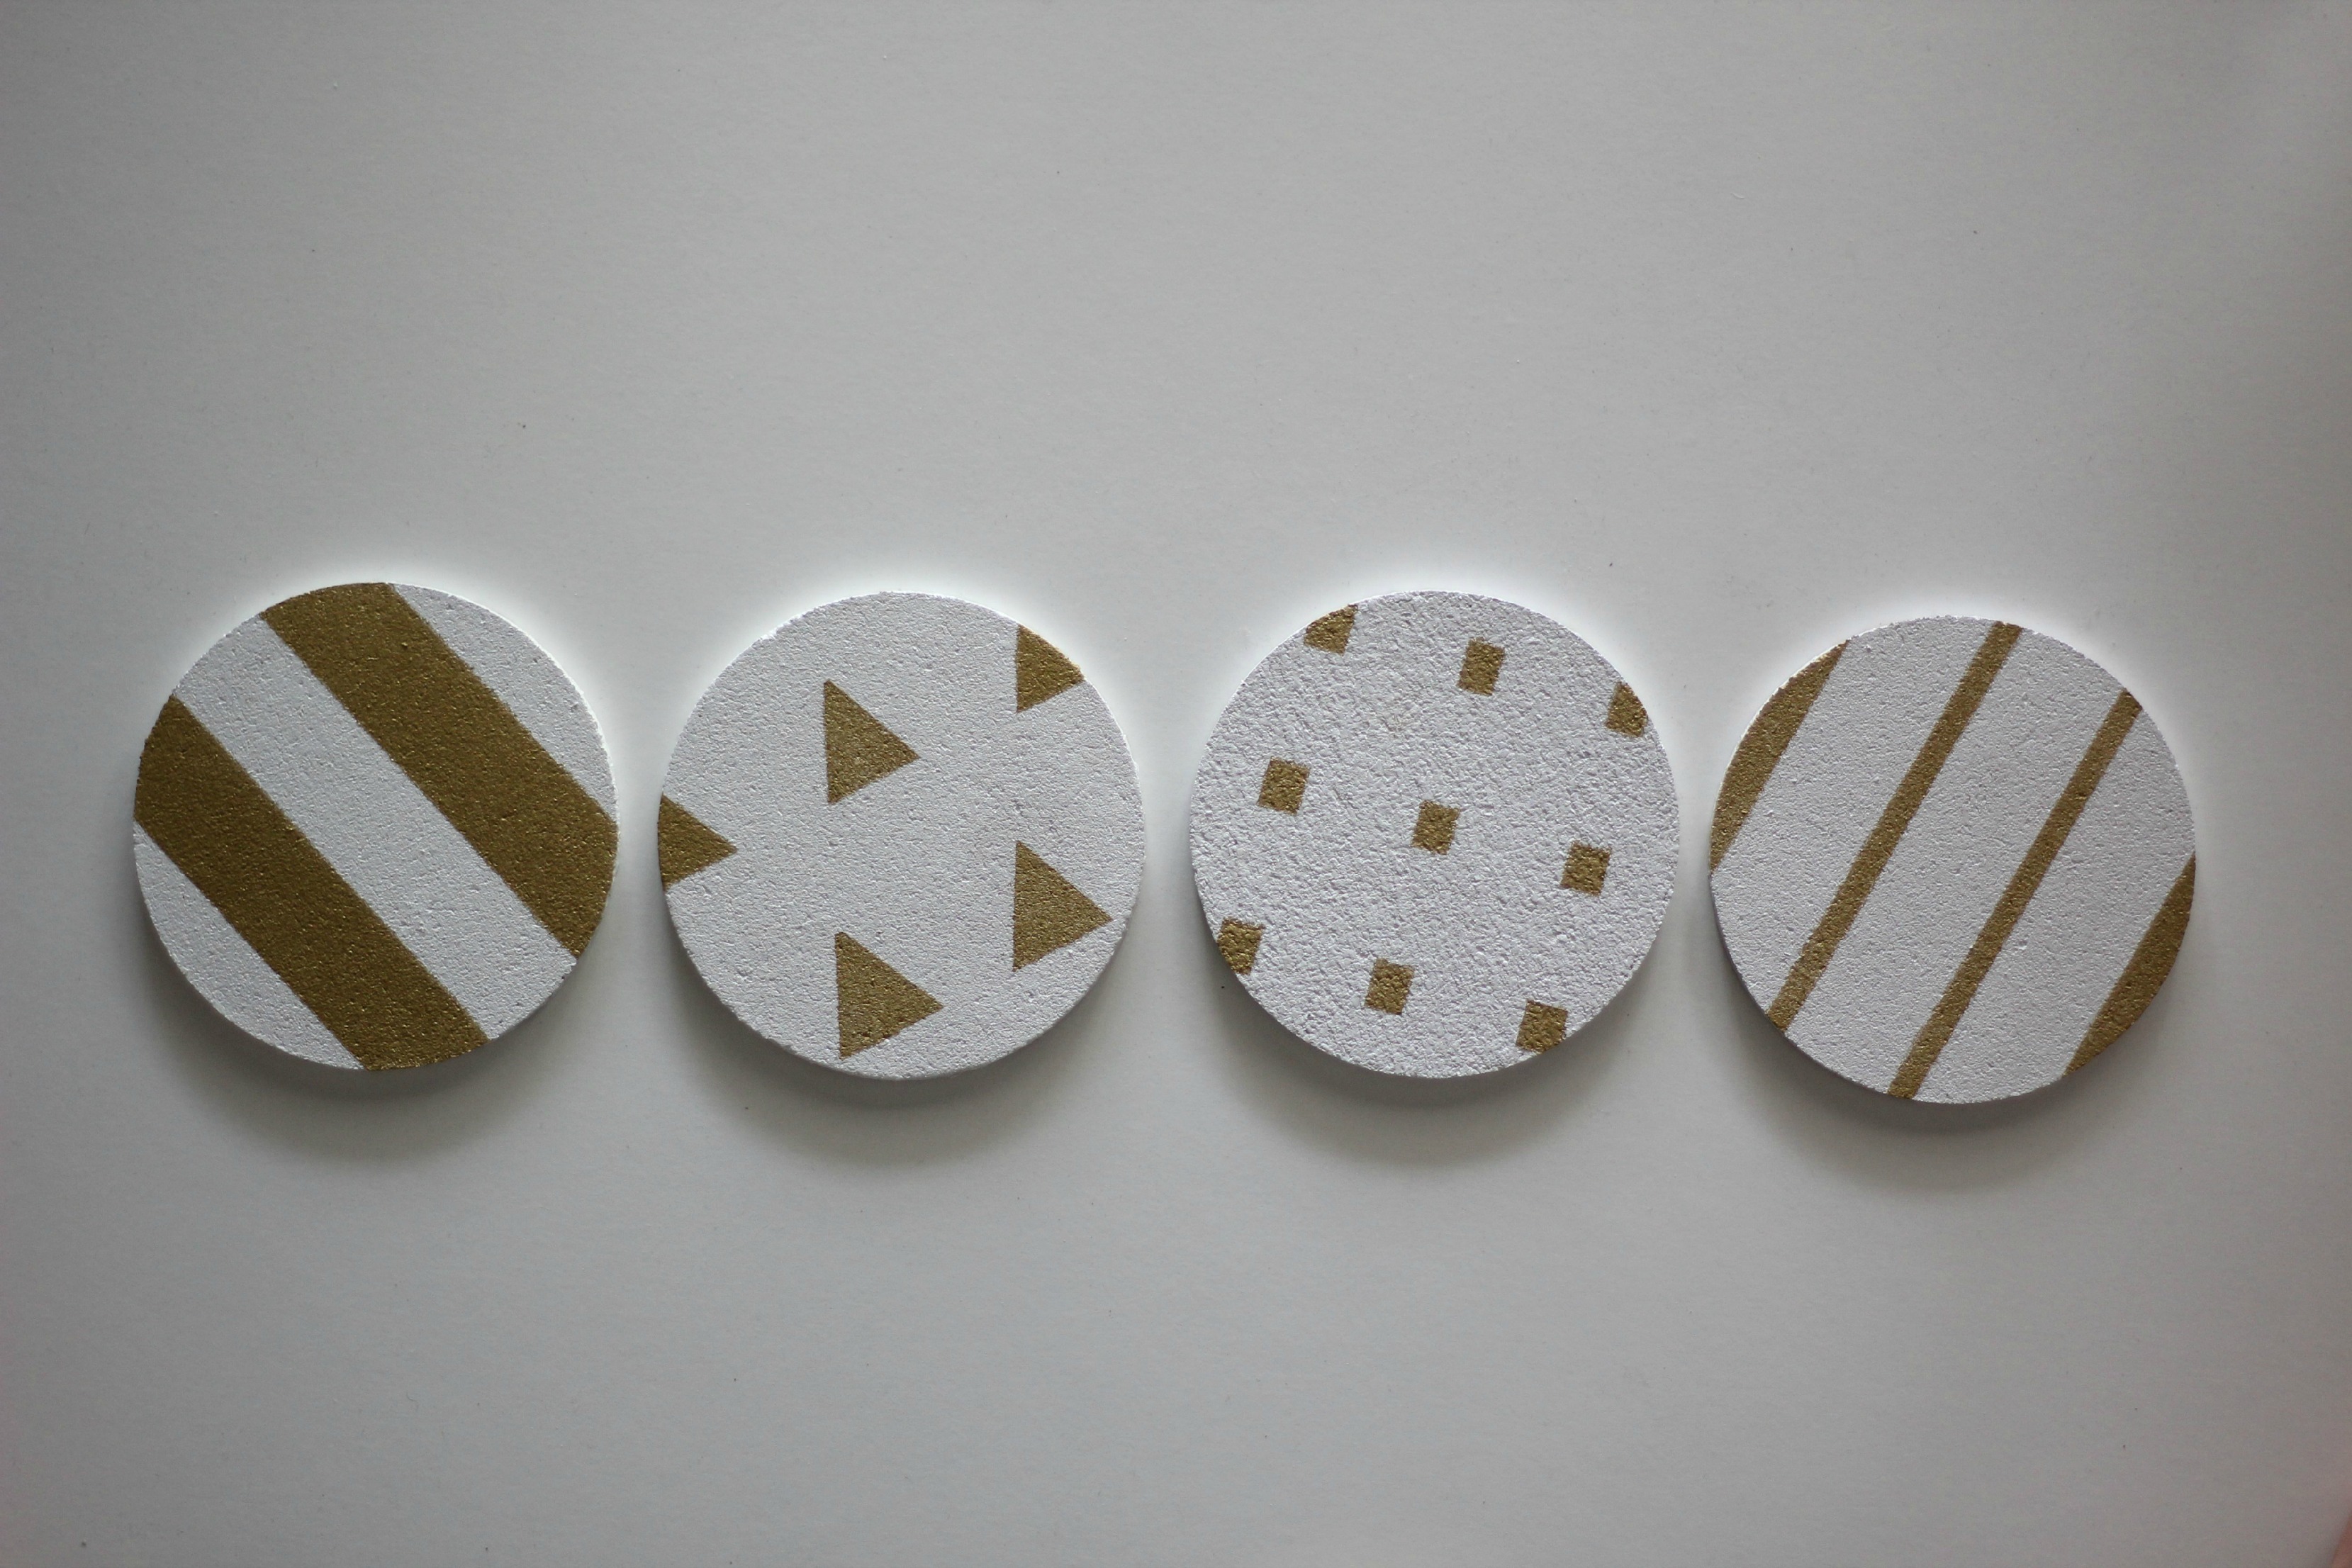
3. Once the final coat of paint is dry, take your masking tape and mask out simple patterns on your coasters - stripes are by far the easiest.
3. Once the final coat of paint is dry, take your masking tape and mask out simple patterns on your coasters - stripes are by far the easiest.
4. Squeeze a small amount of the coloured acrylic paint onto the stencil brush and dab on newspaper to work it into the brush a bit. Dab the brush onto the coaster until all the gaps are covered. Leave to dry and repeat until you get the coverage you want.
5. After you have applied the final layer, peel off the masking tape while the paint is still wet.
6. Once the coasters are dry, spray them with a coat of clear gloss spray to protect them and make them more waterproof.
 |
 |
And voila! Time for a cup of tea...
C
x
No comments:
Post a Comment